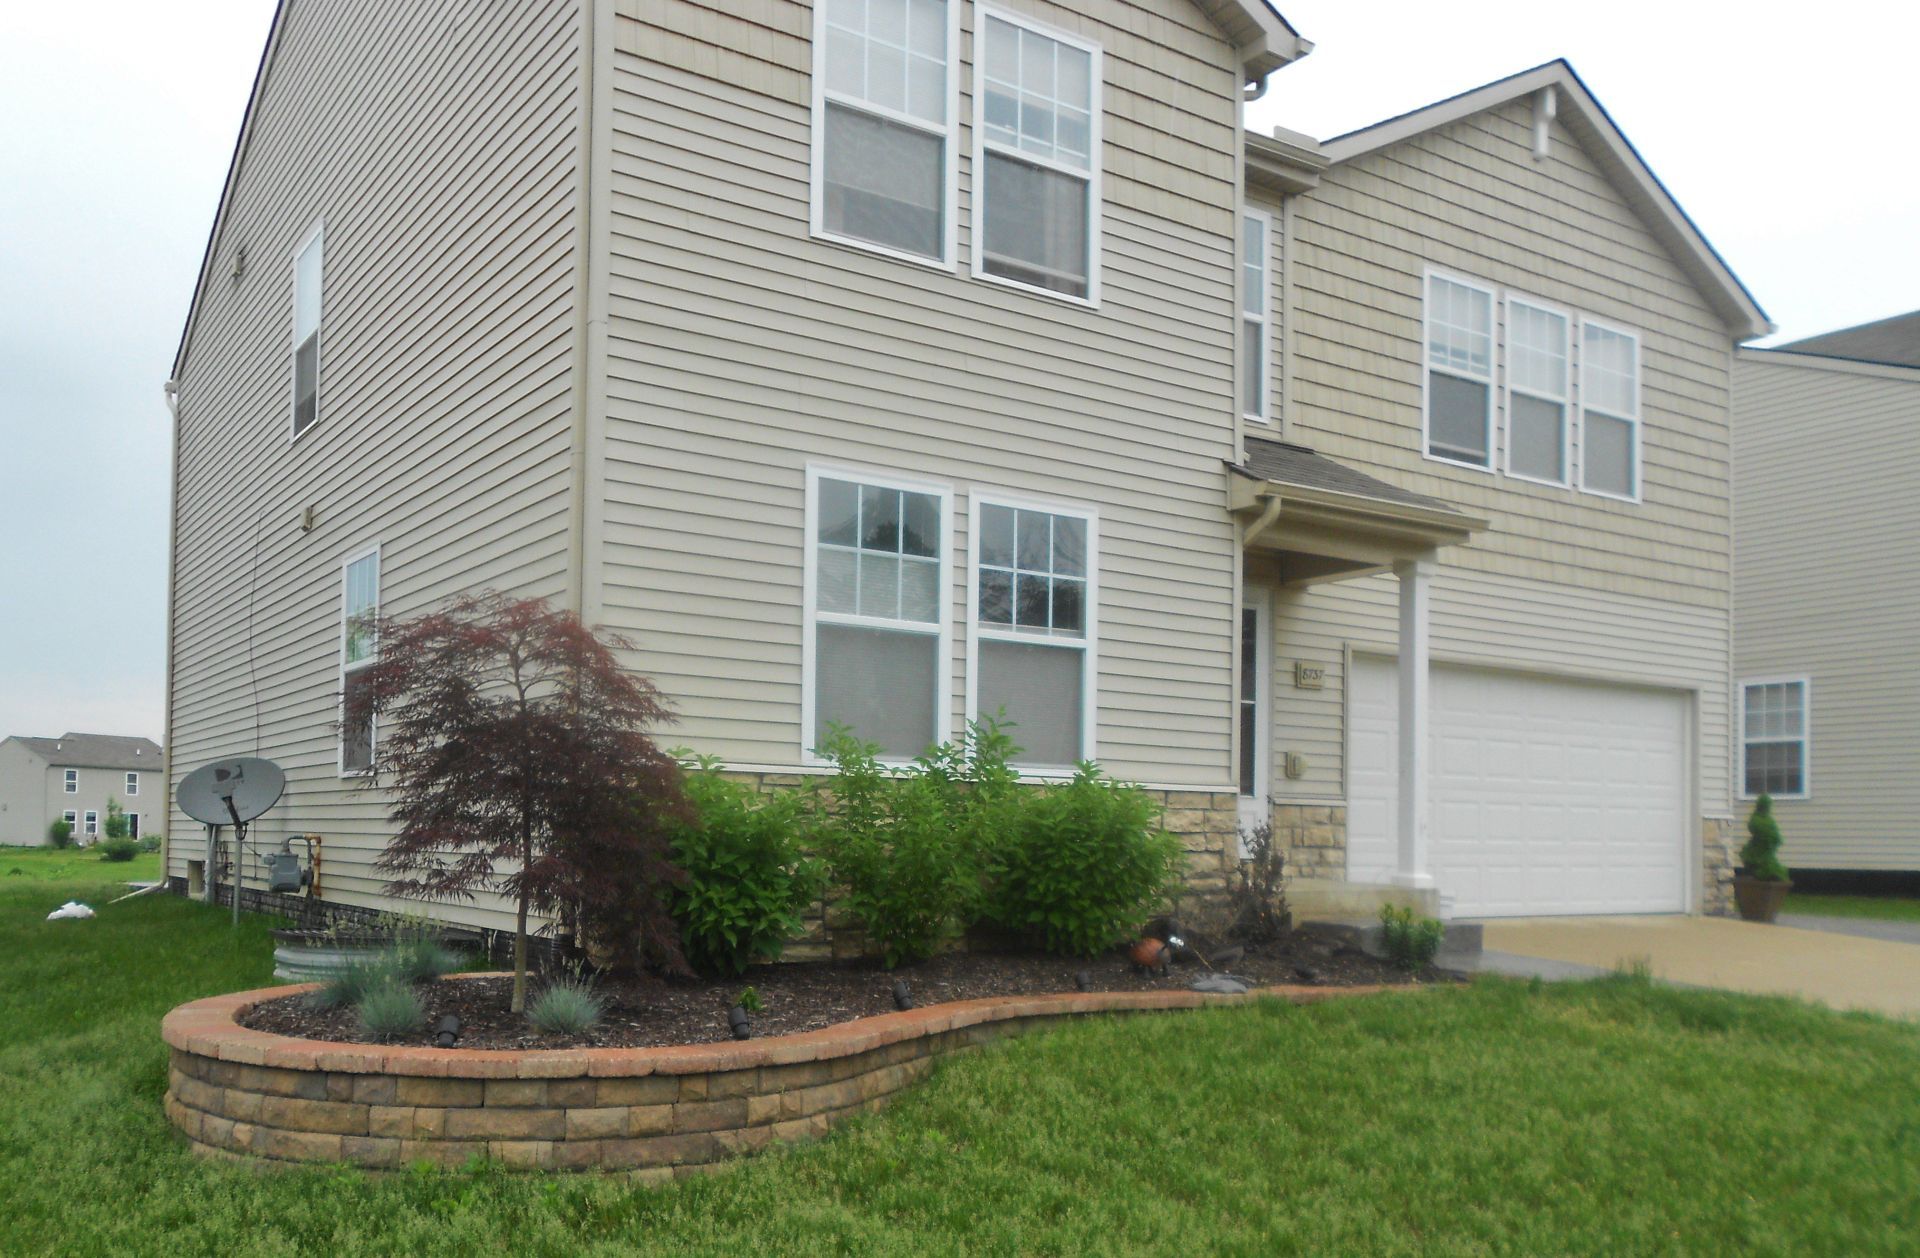
Landscaping And A Retaining Wall Are A Great Way To Give Your Home A Unique Look
The Retaining Wall Is A Simple, But Elegant Design Using Landscape Block
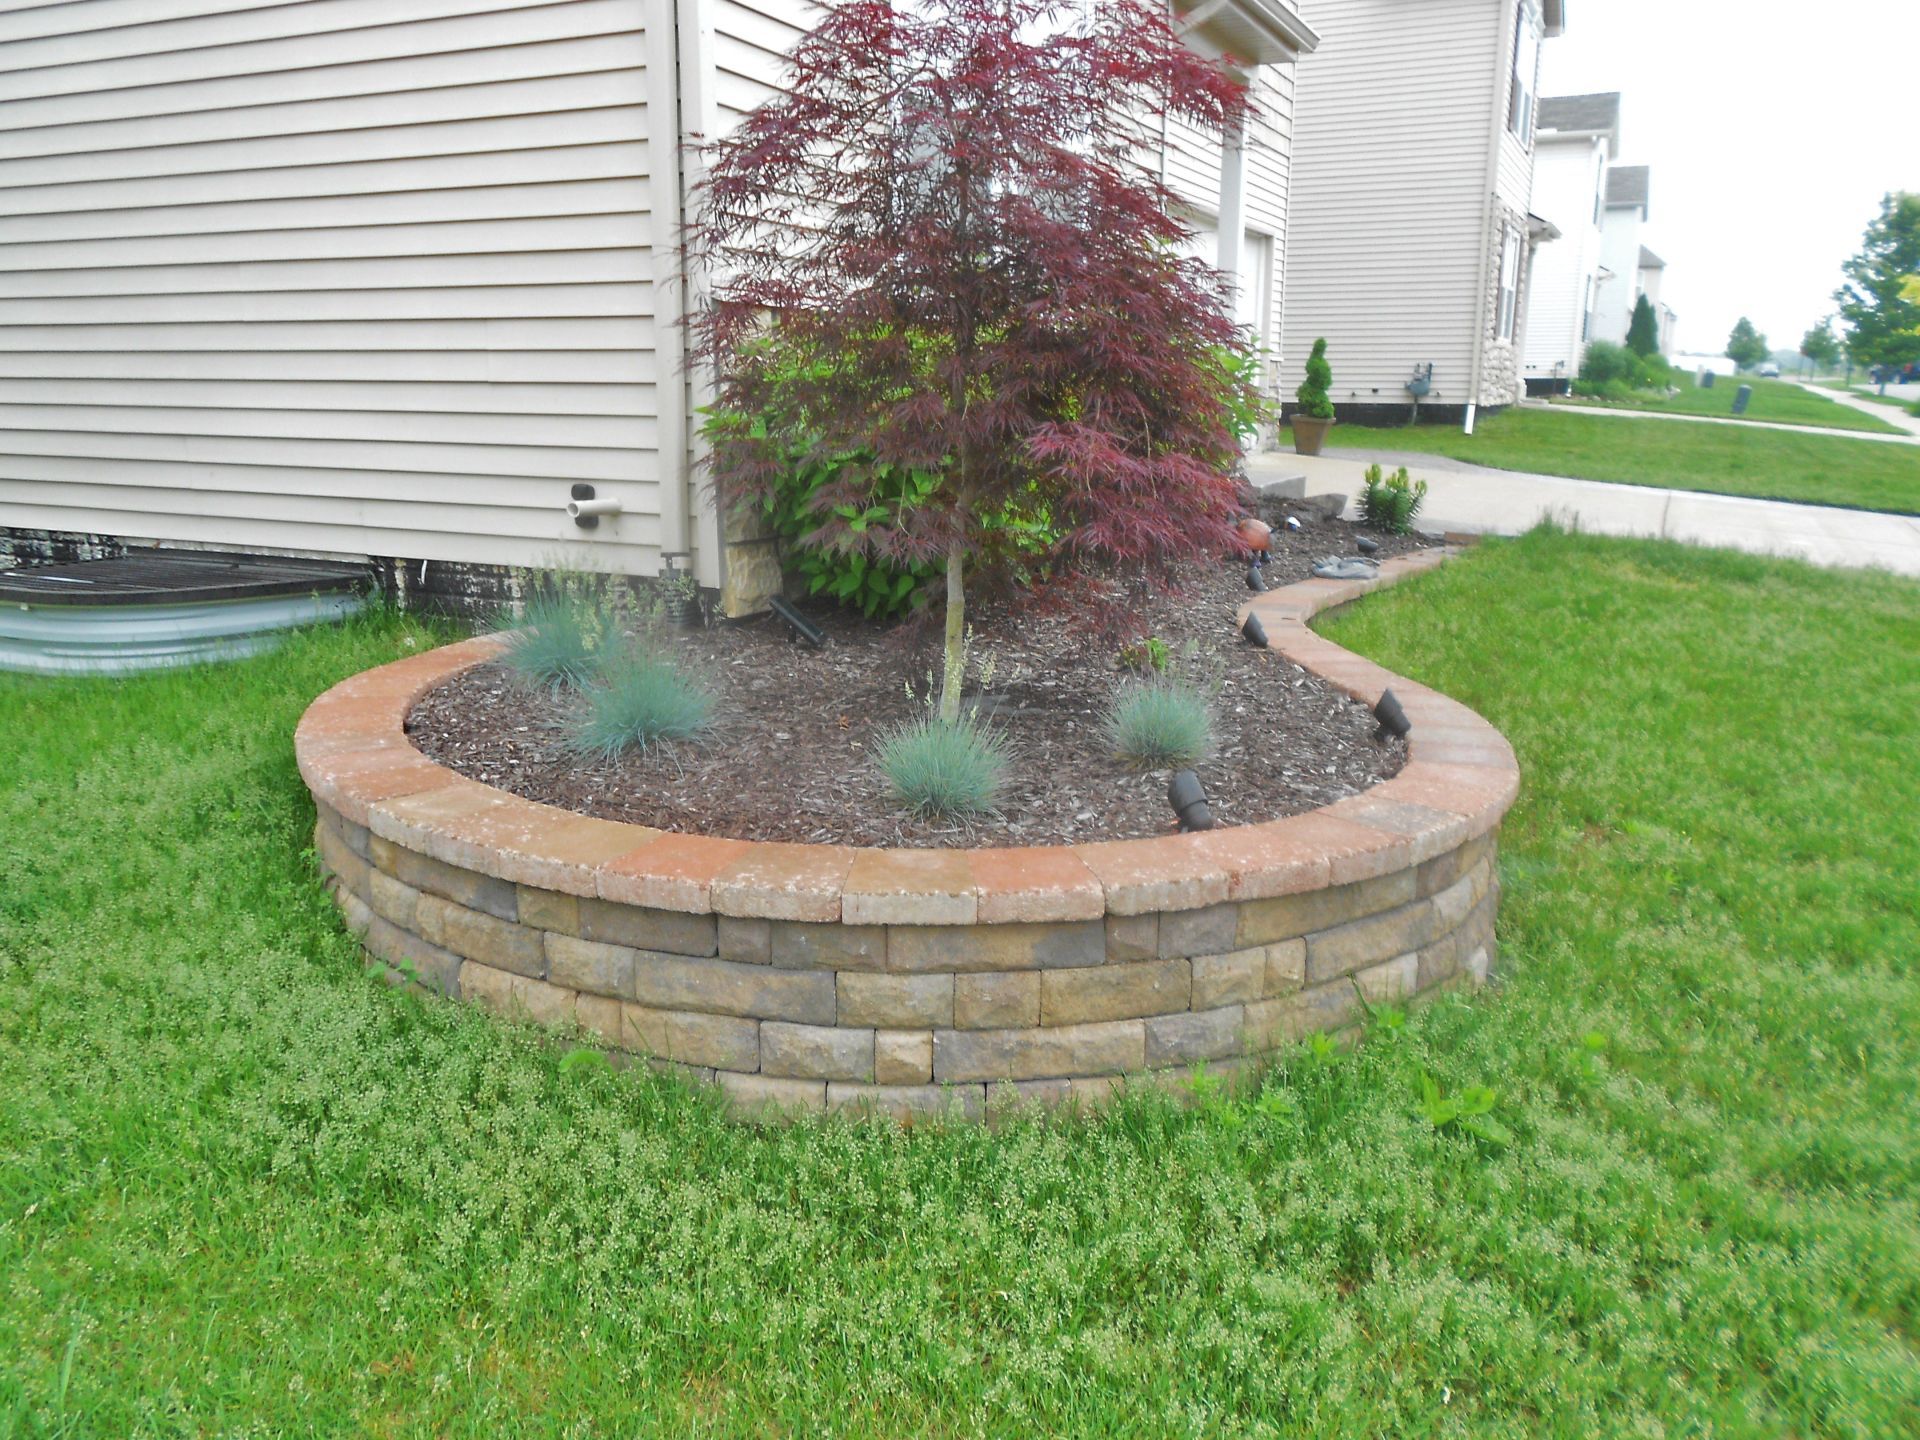
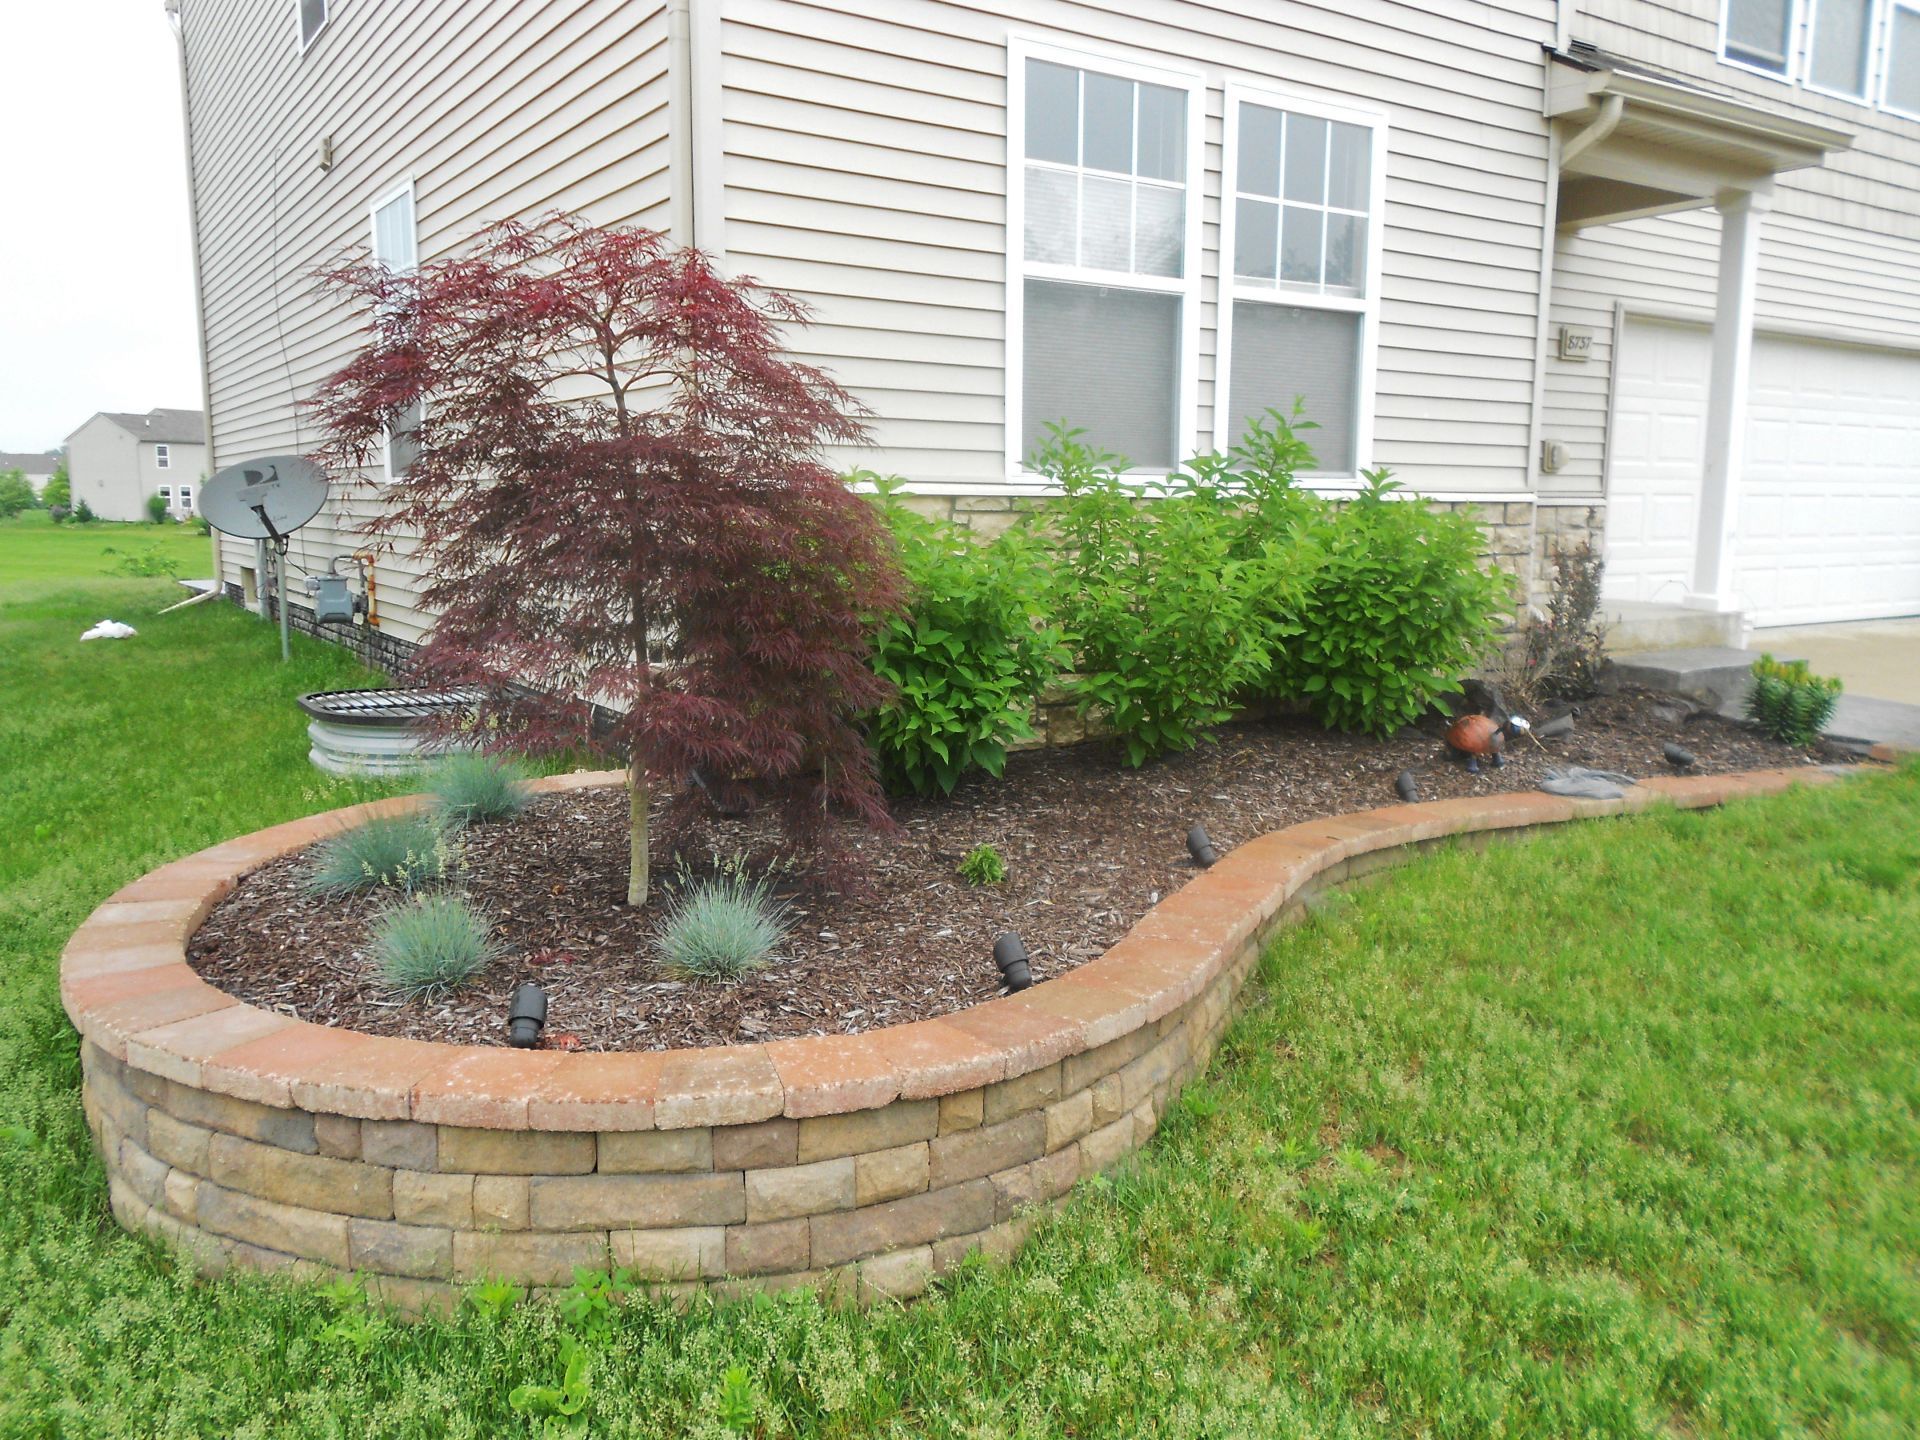
The Versatility Of Landscape Block Makes Curves Of Any shape
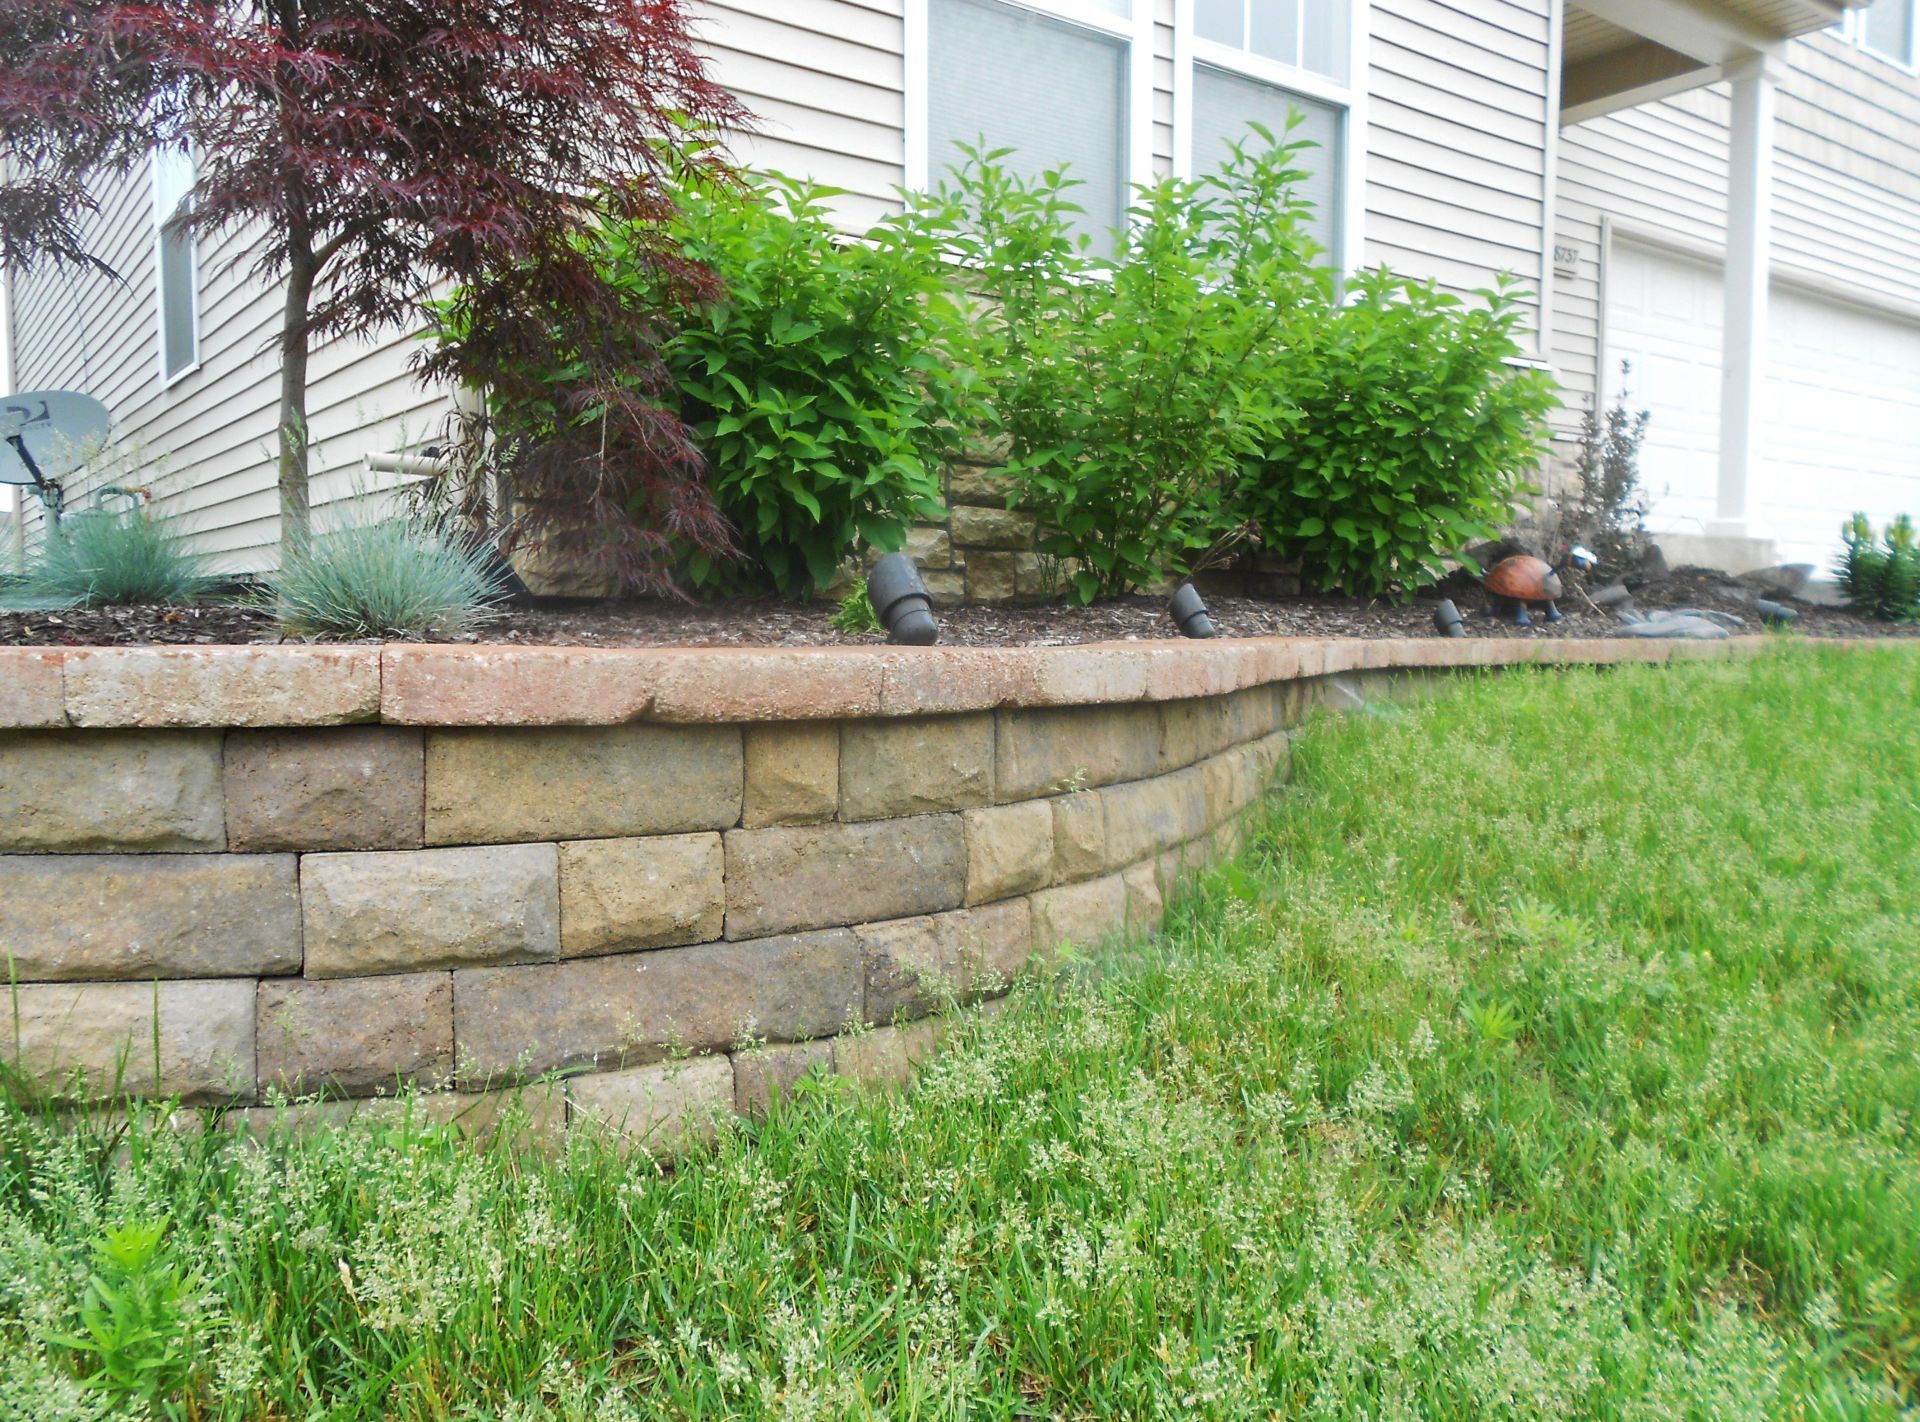
A Closer Look At The Detail And Colors In The Retaining Wall
Dexter Block
13600 Luick Dr, Chelsea, MI 48118
734-424-9420