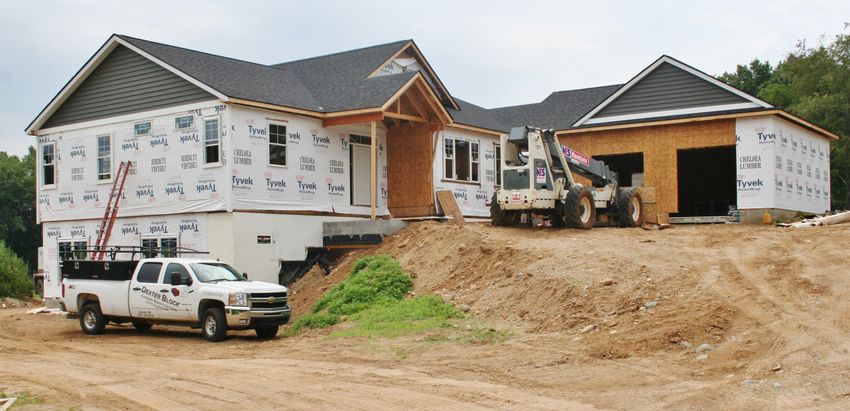
Dexter Block at new home build.
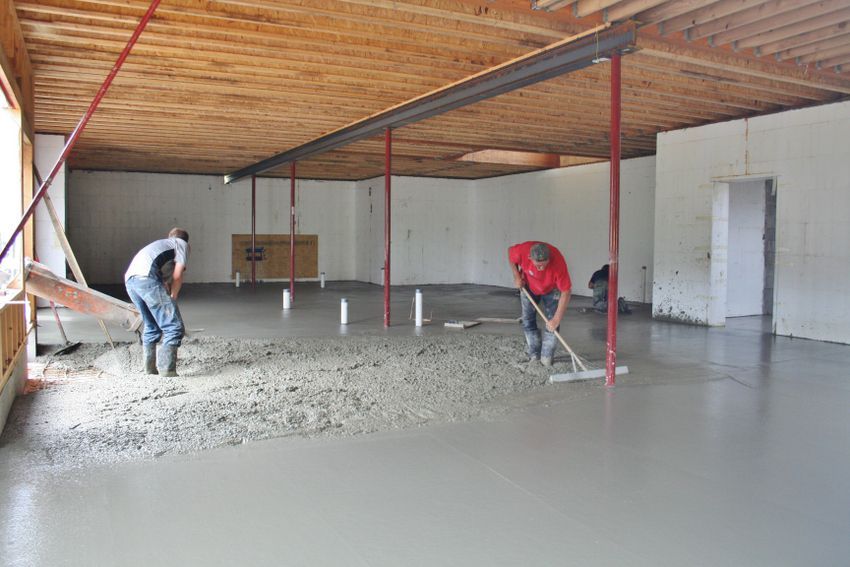
Concrete is poured in the garage.
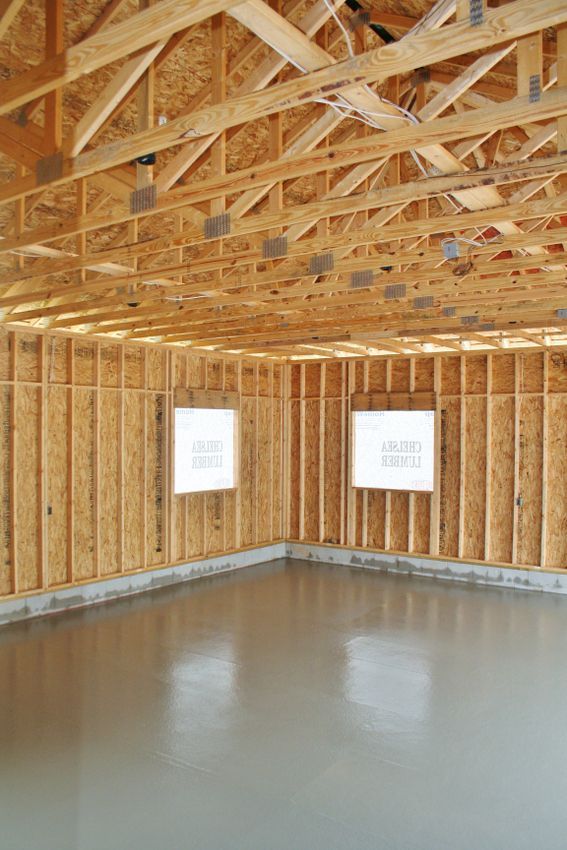
Finished poured concrete floor in the new garage.
Now that the garage floor is poured it’s time to pour the basement floor.
The guys in action smoothing out the concrete as it is poured in.
Dexter Block
13600 Luick Dr, Chelsea, MI 48118
Privacy Policy | Sitemap