Get in touch
734-424-9420

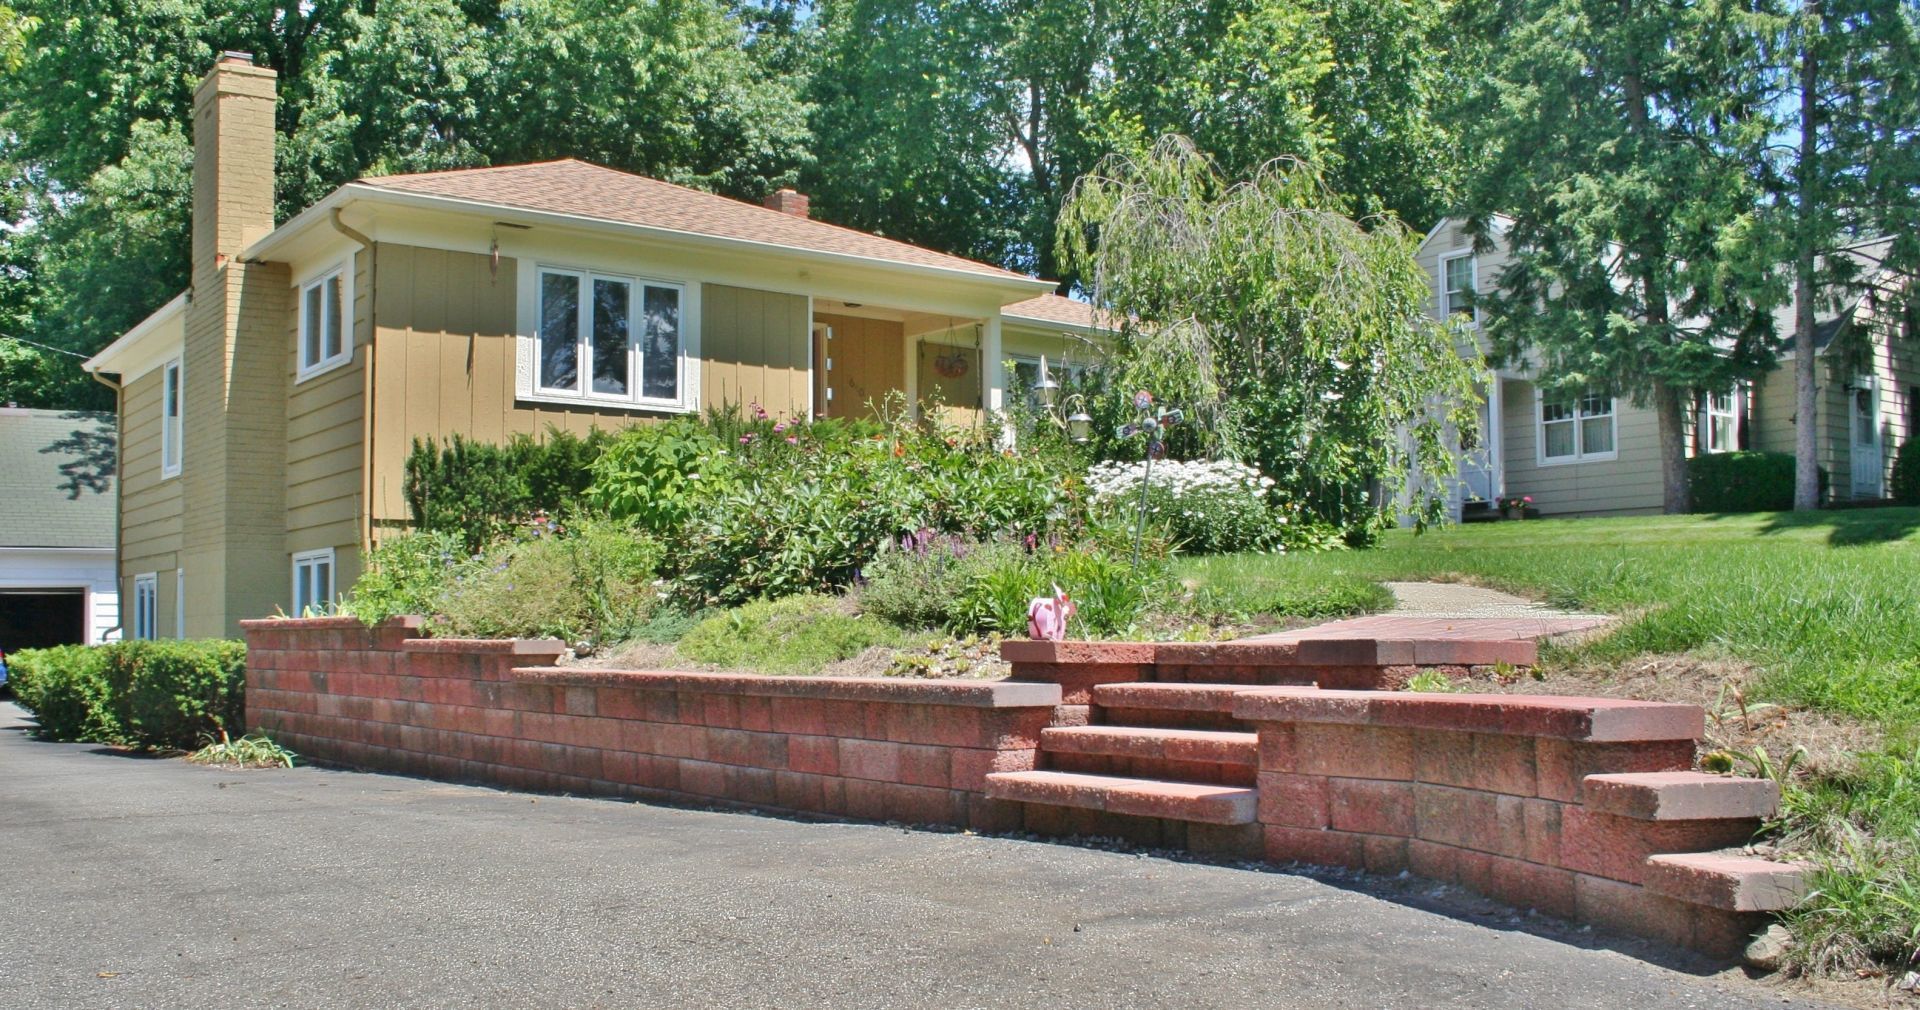
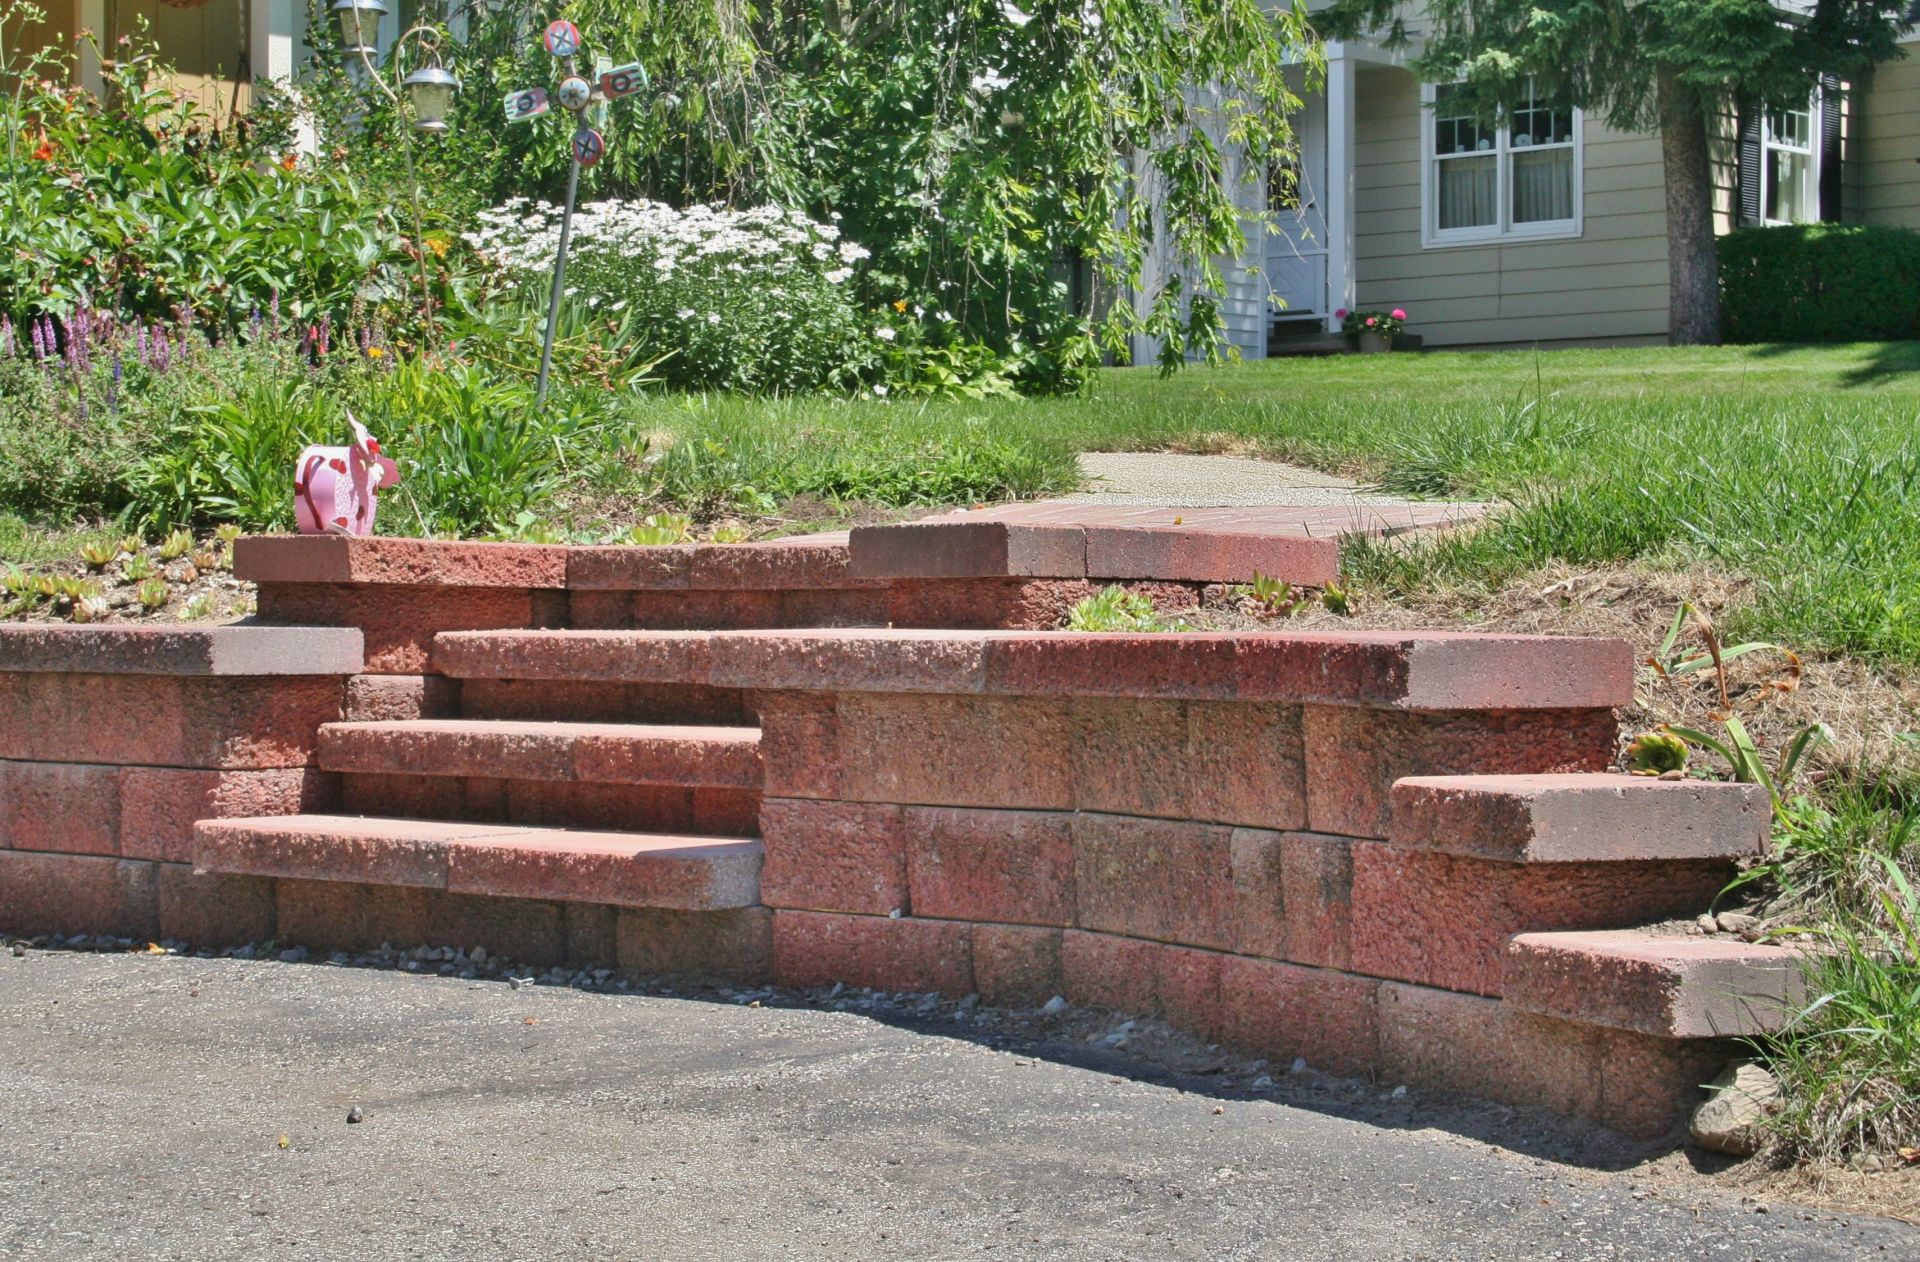
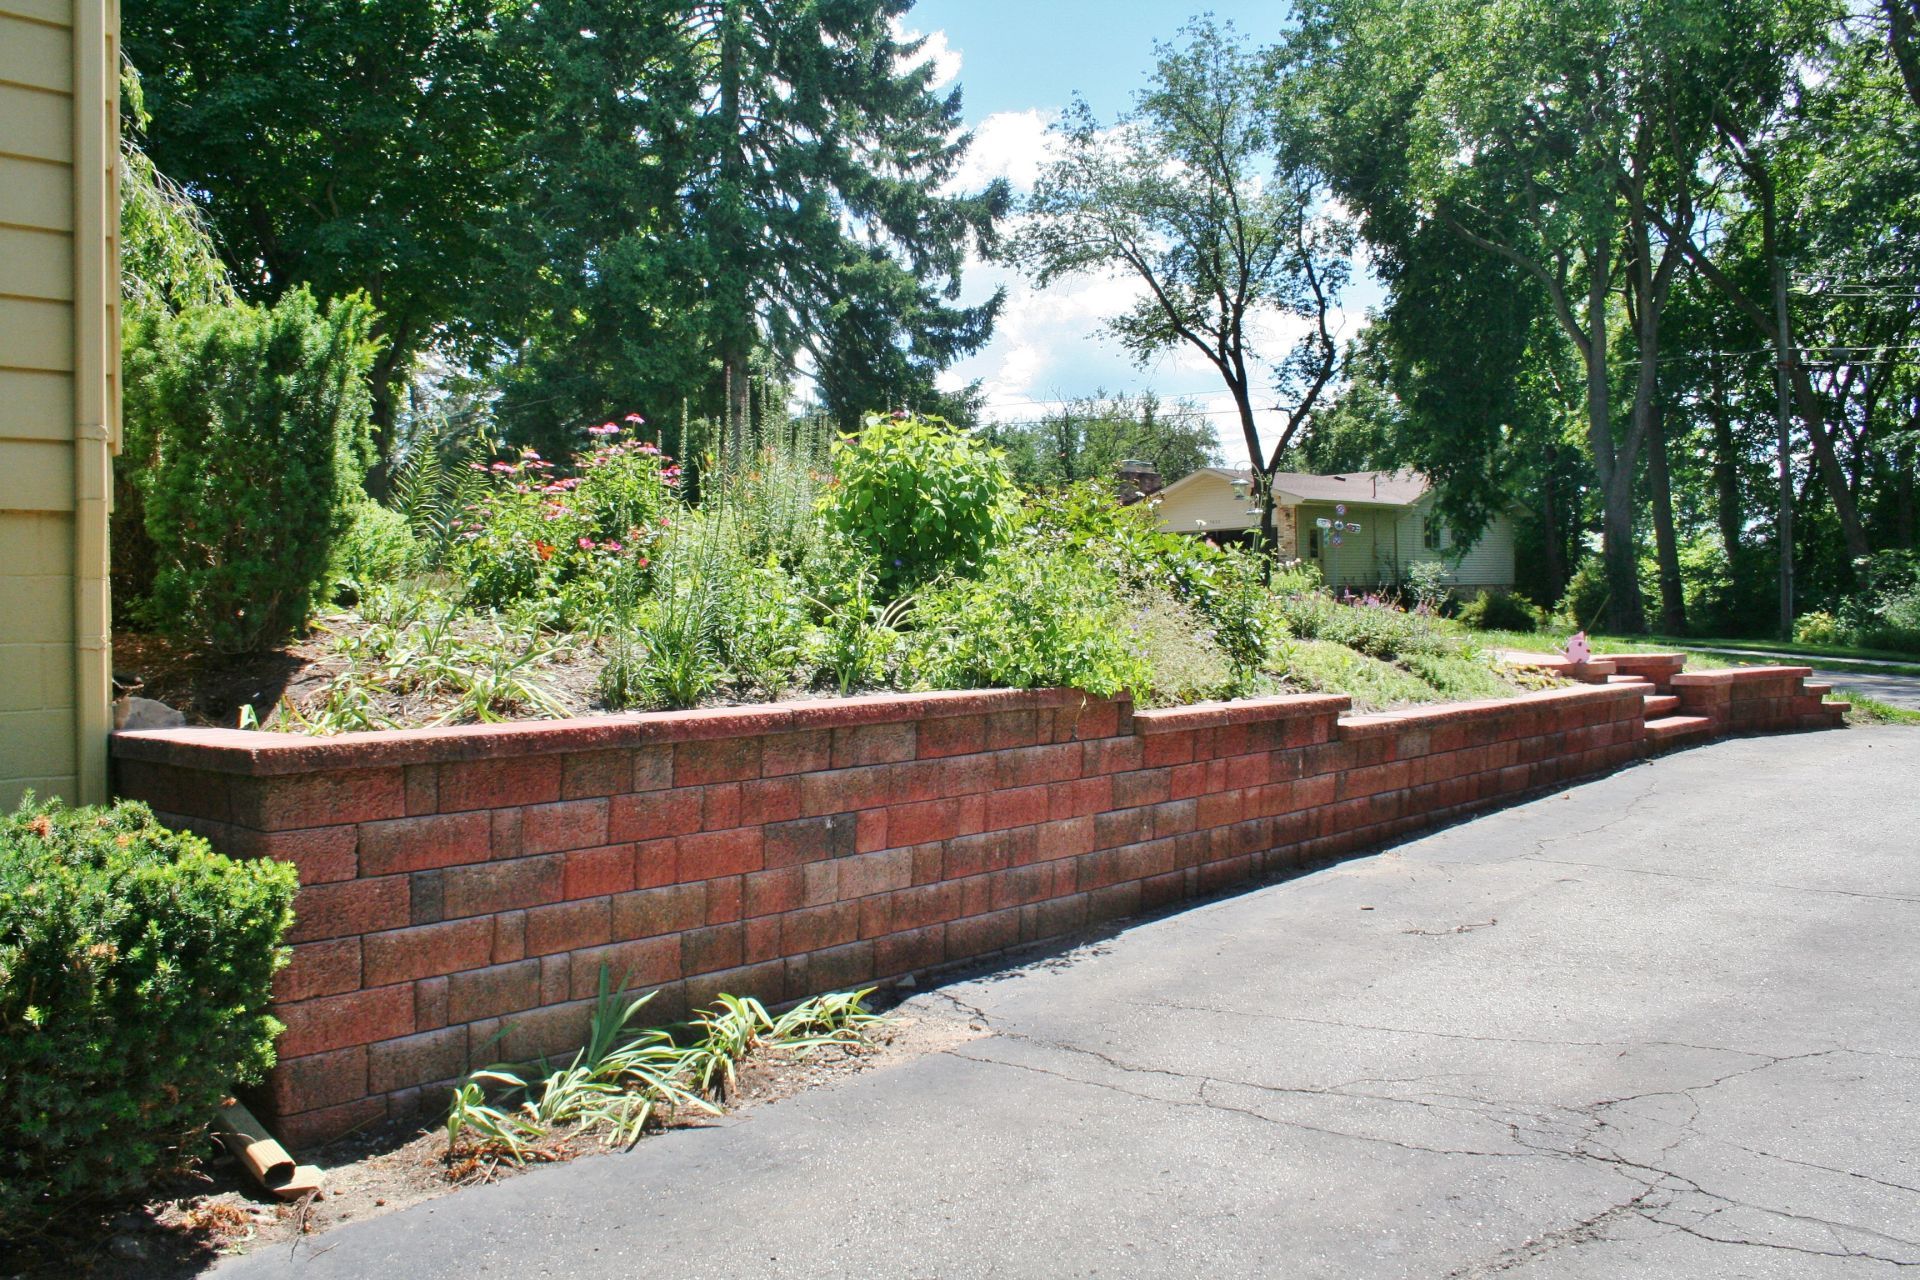
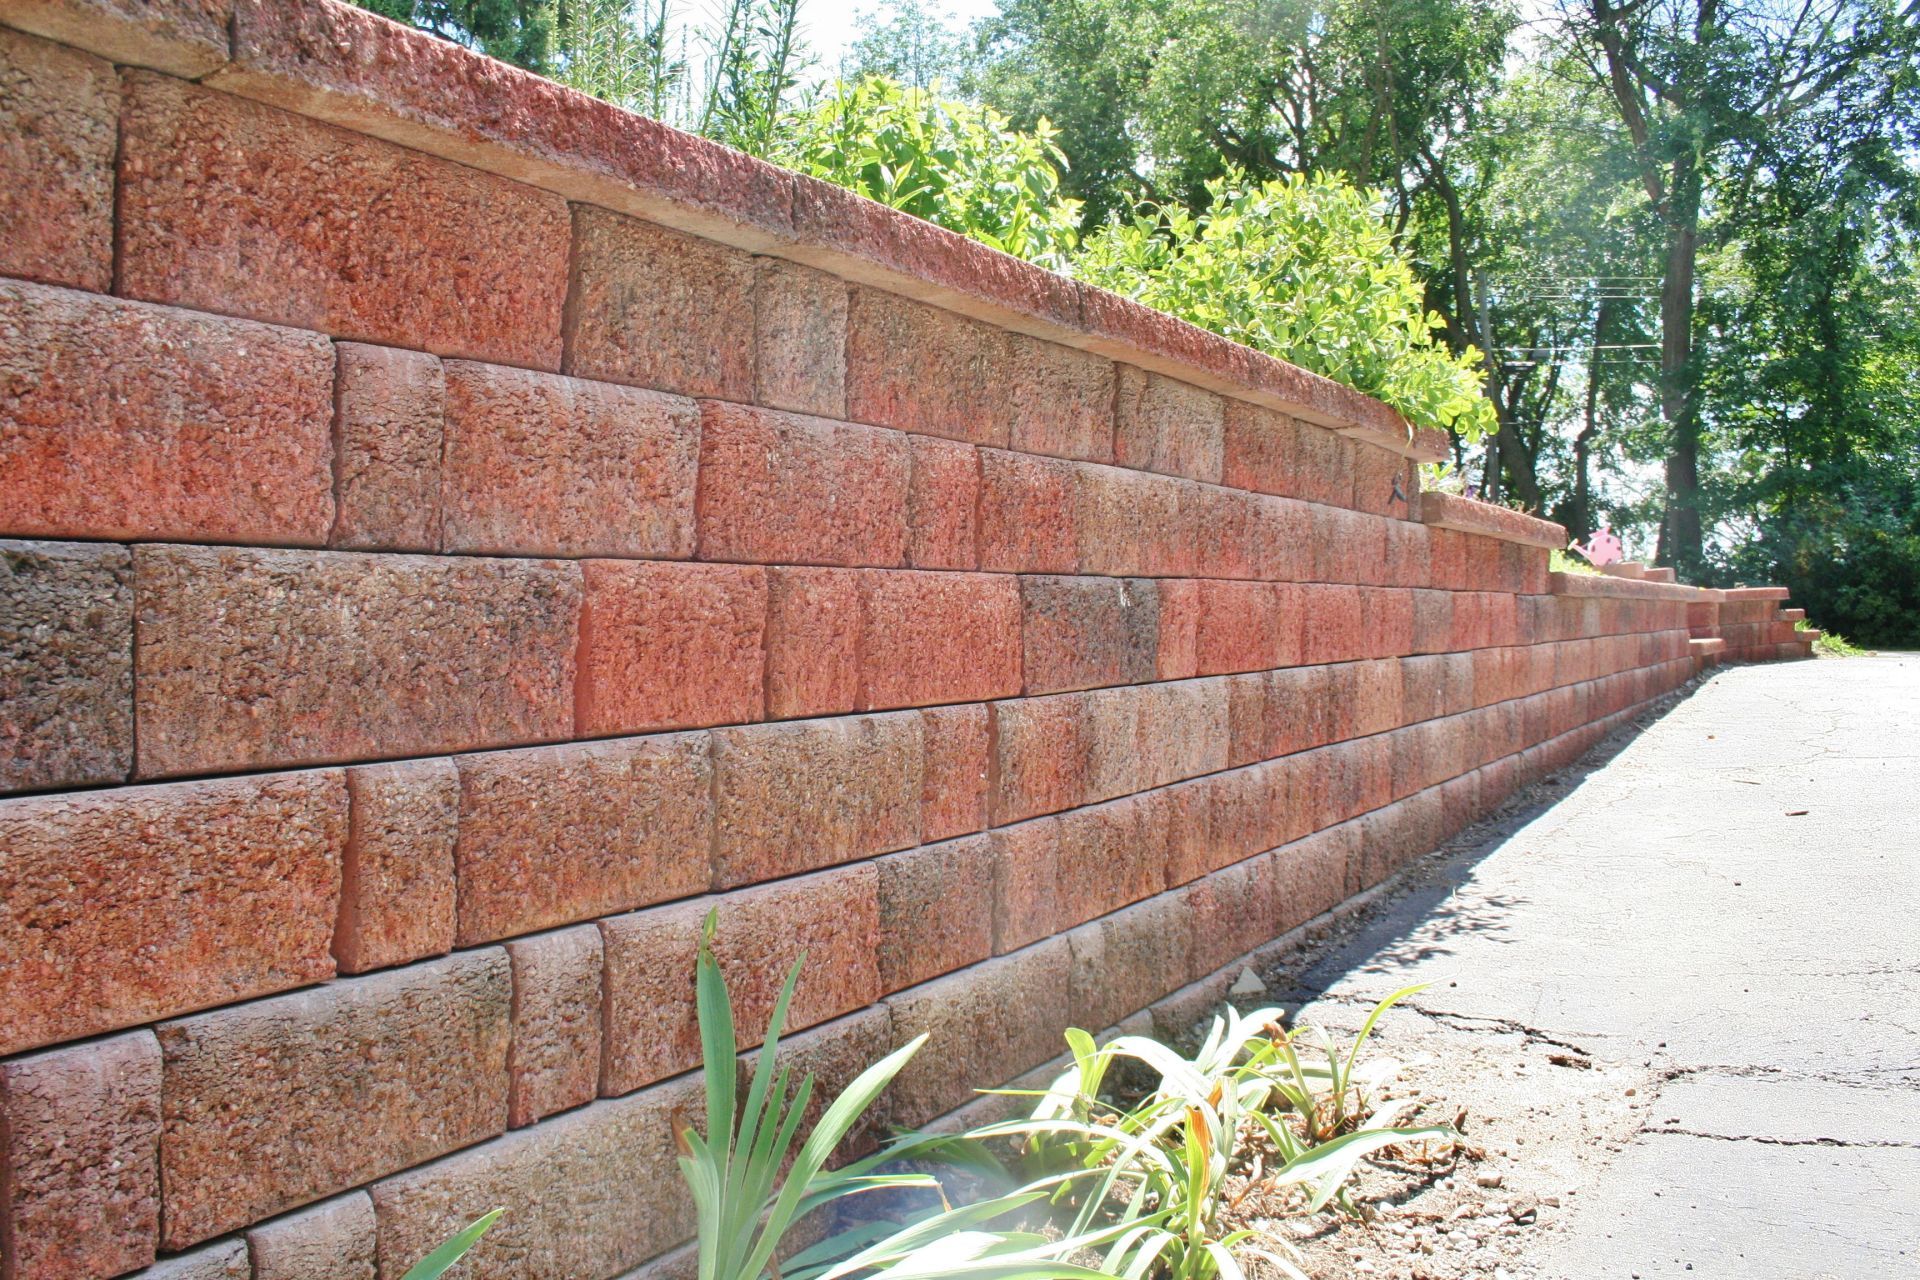
RETAINING WALL #3
Customer Testimonials & Success Stories
Follow Us
Dexter Block
13600 Luick Dr, Chelsea, MI 48118
734-424-9420
All Rights Reserved
- Site designed by Locallogy
Dexter Block
13600 Luick Dr, Chelsea, MI 48118