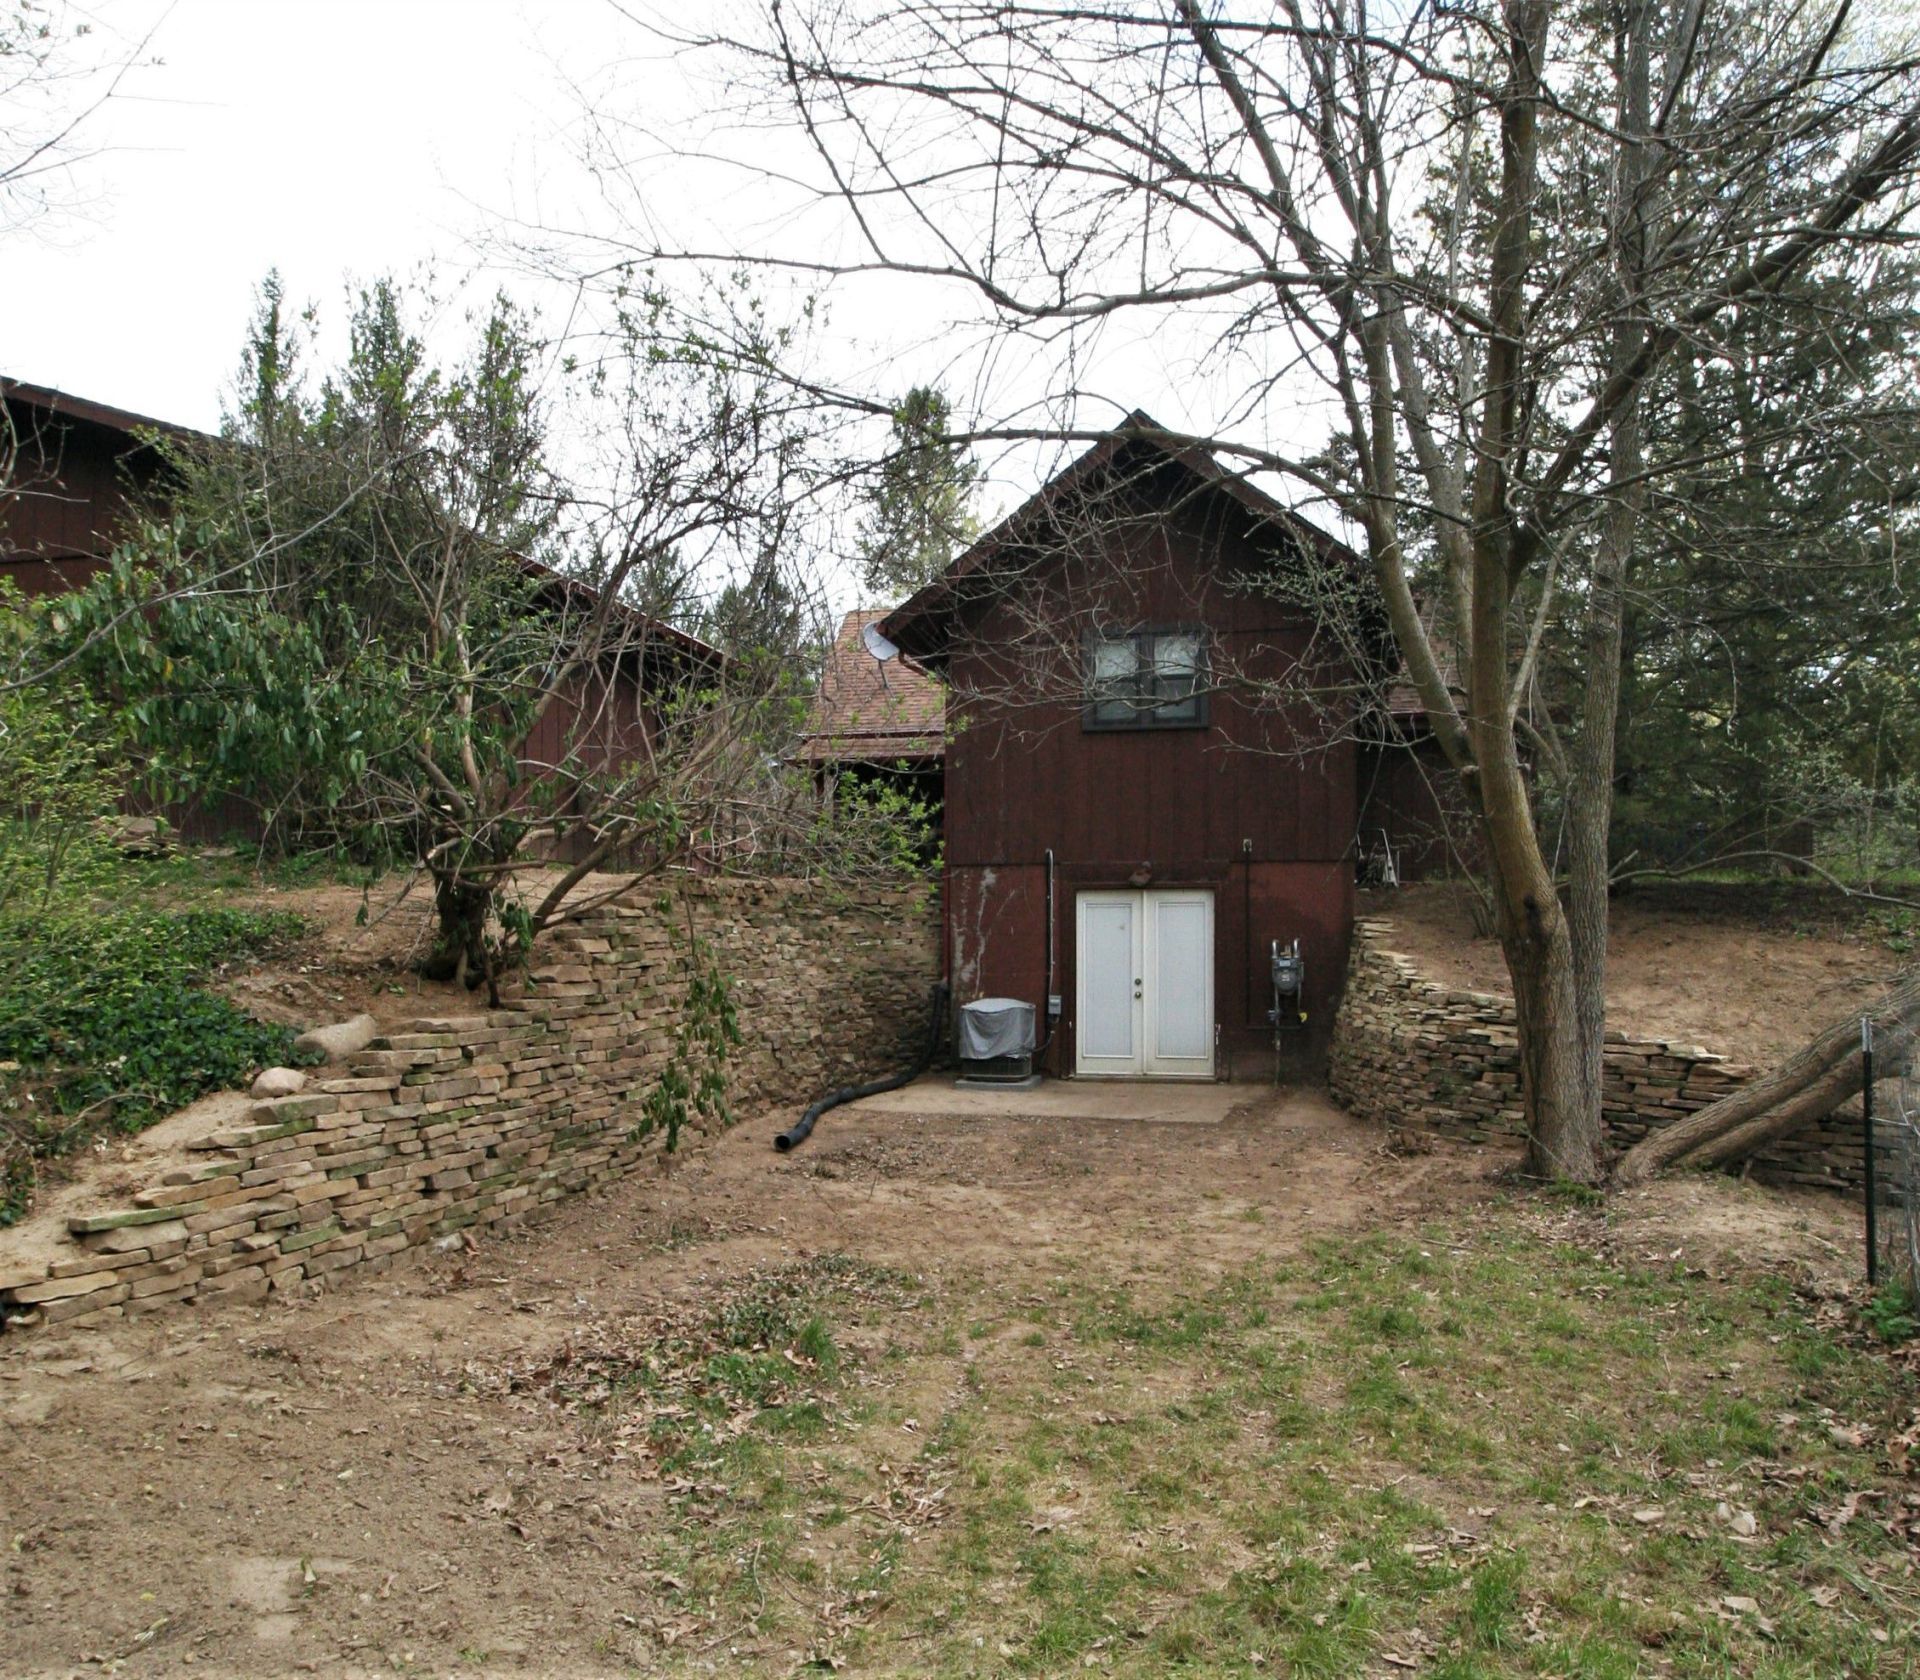
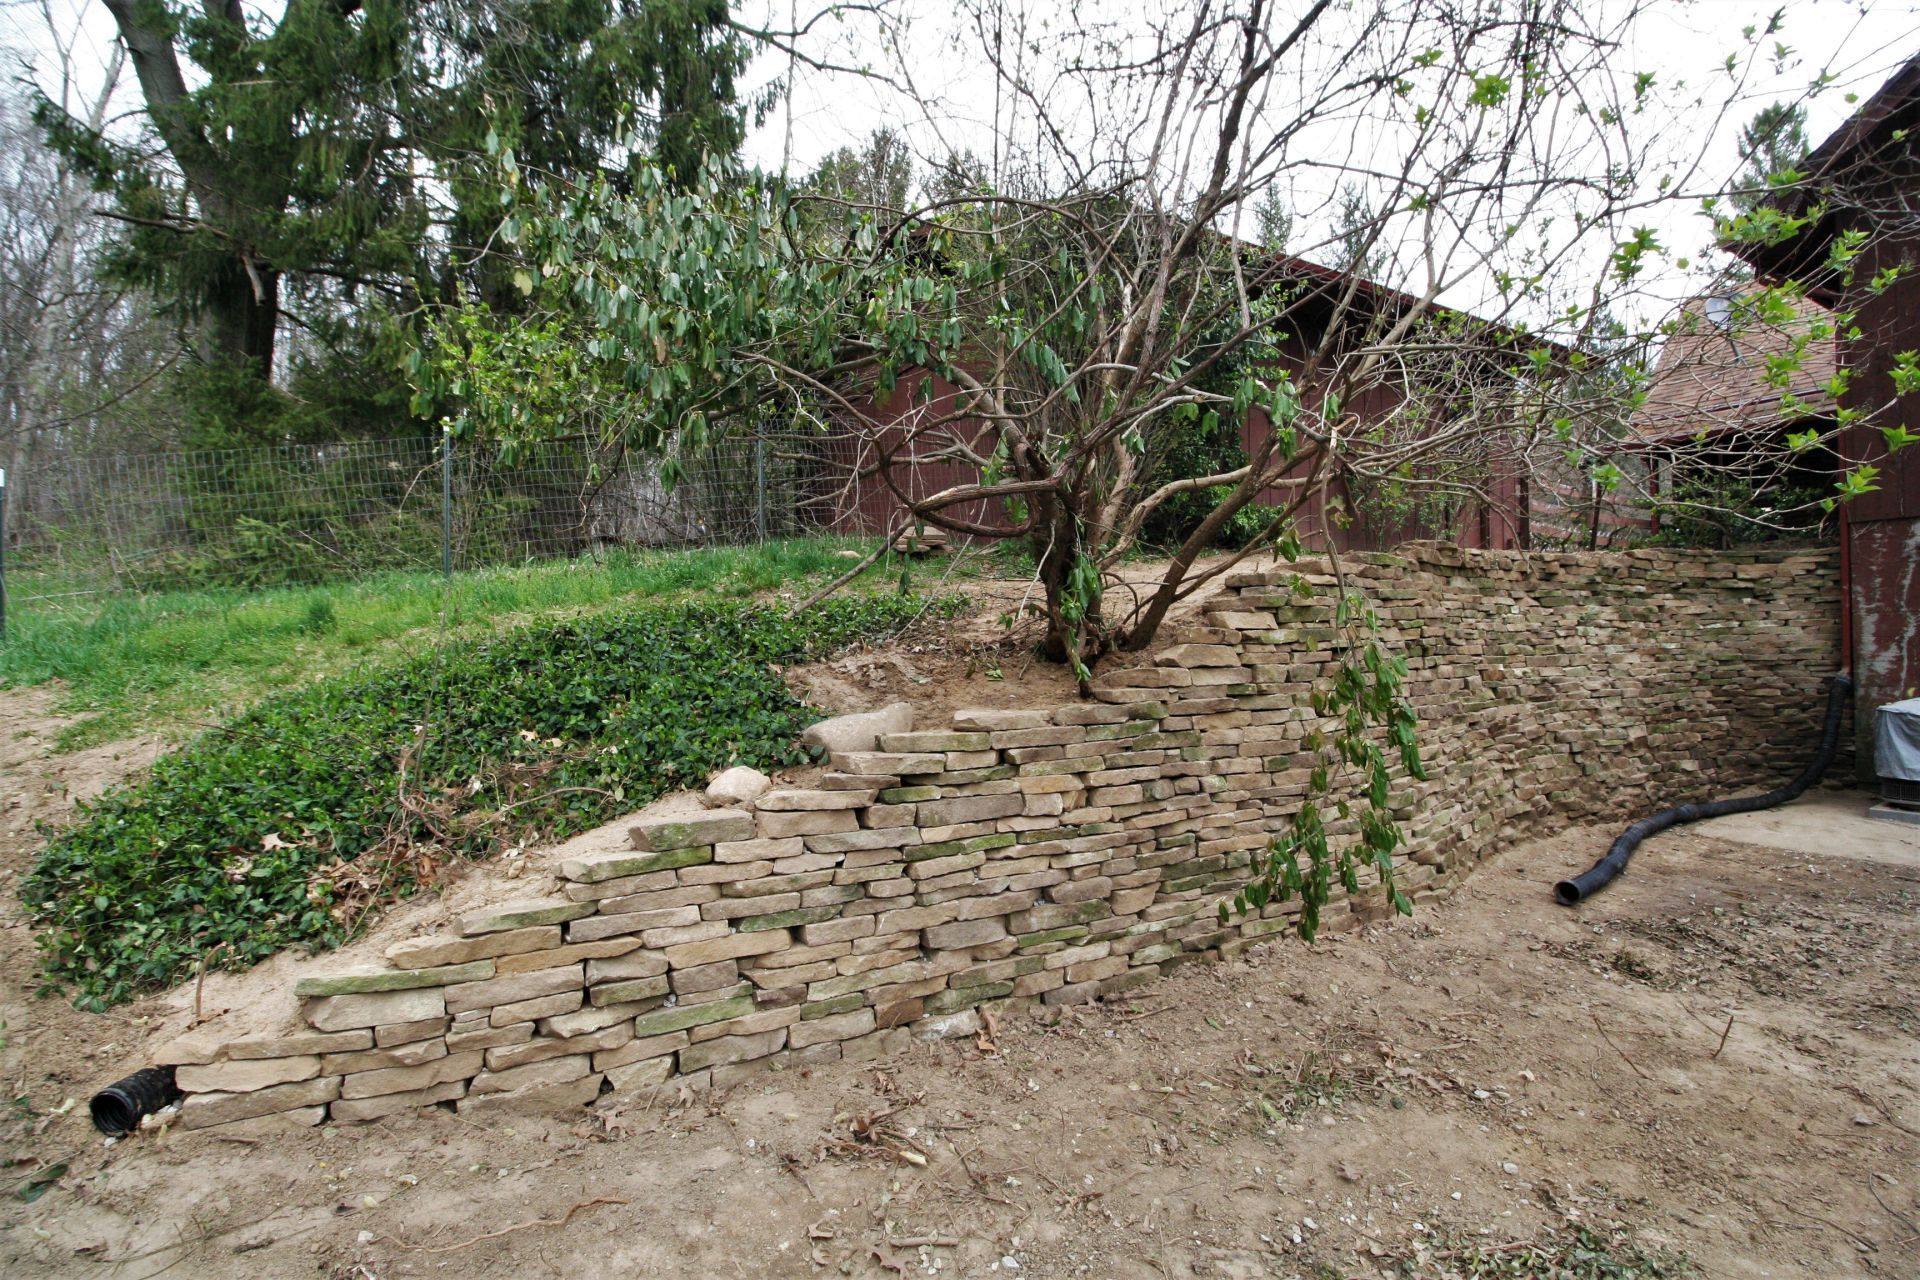
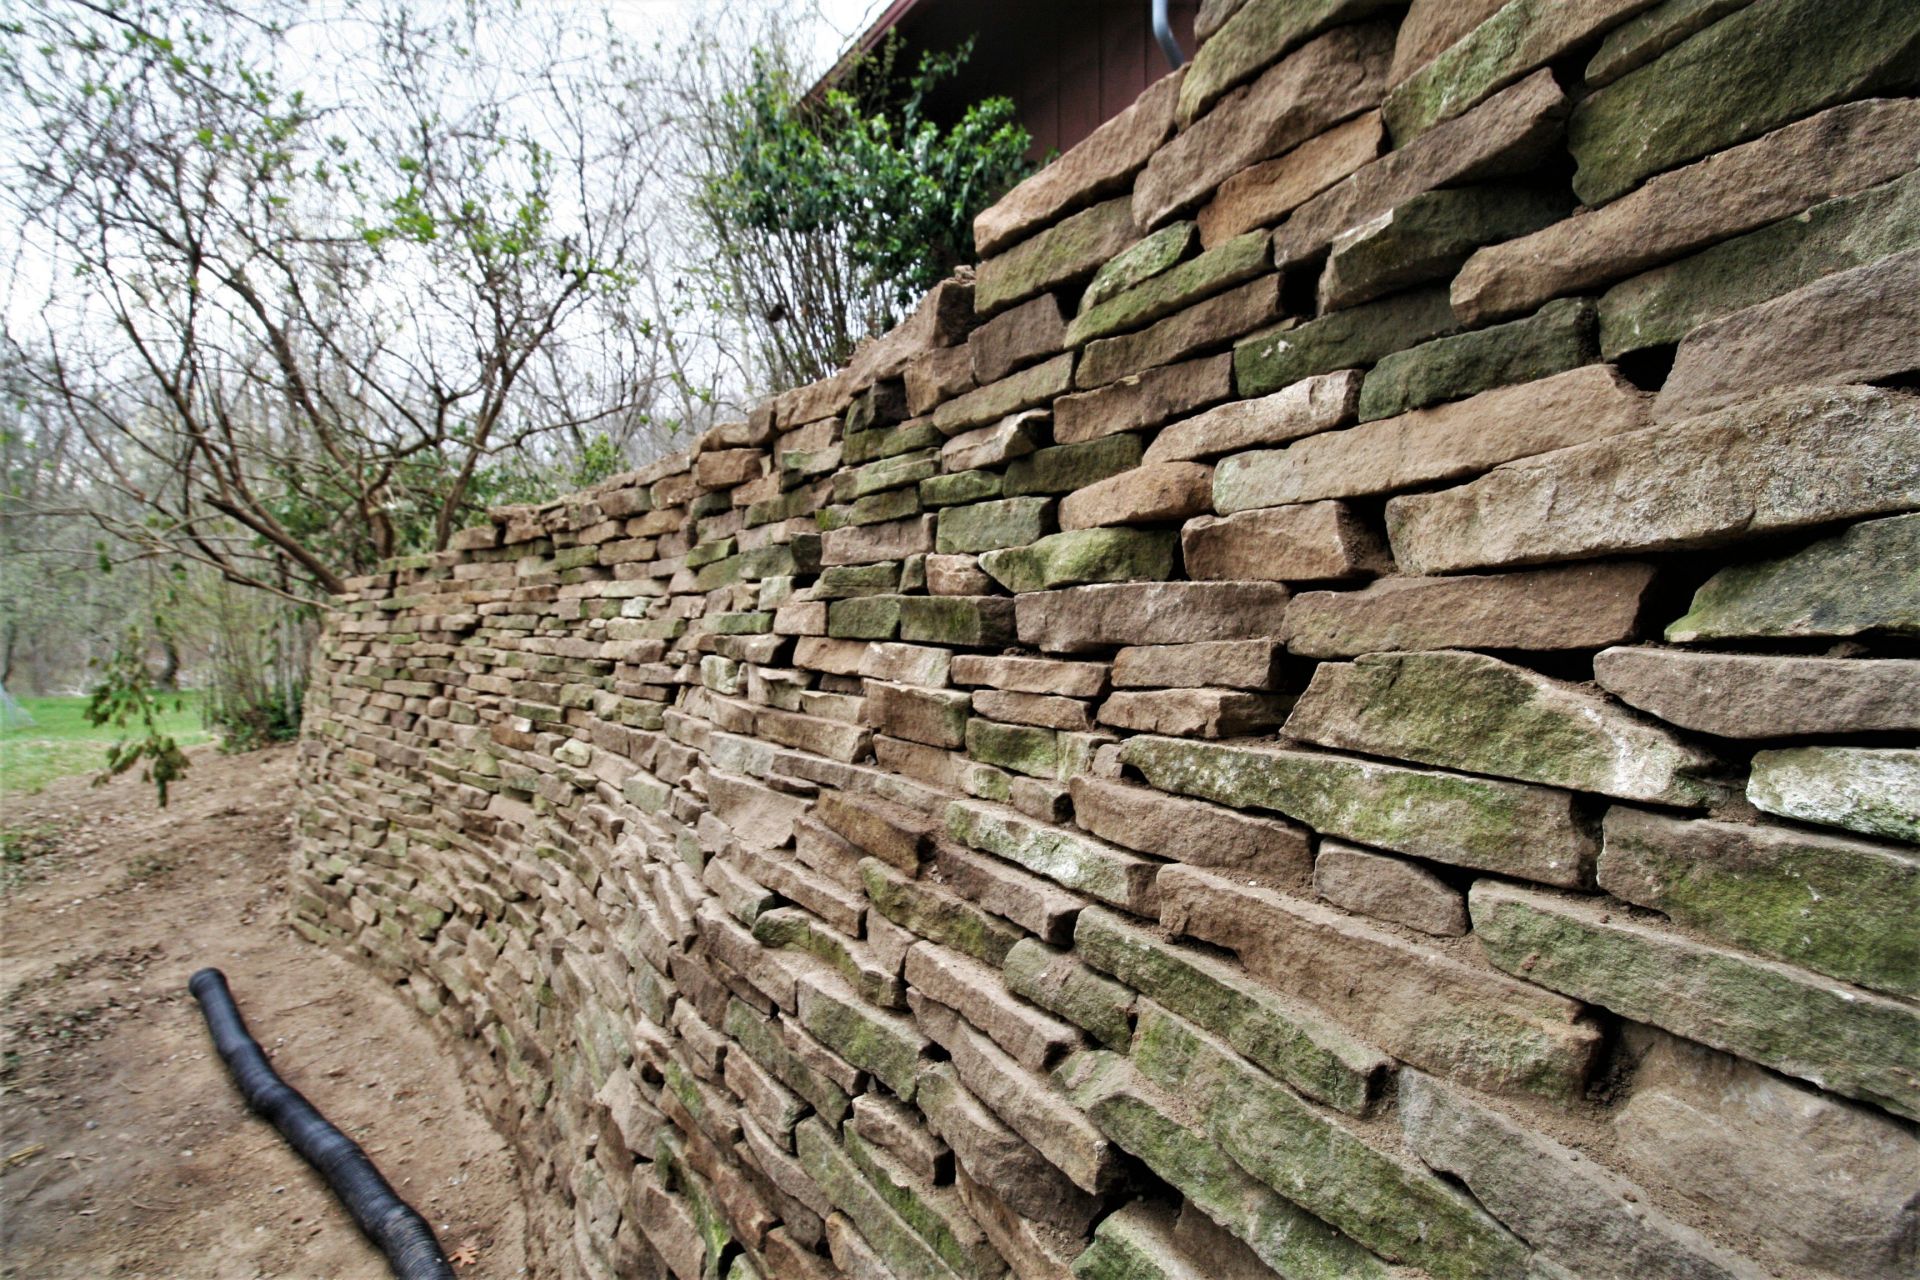
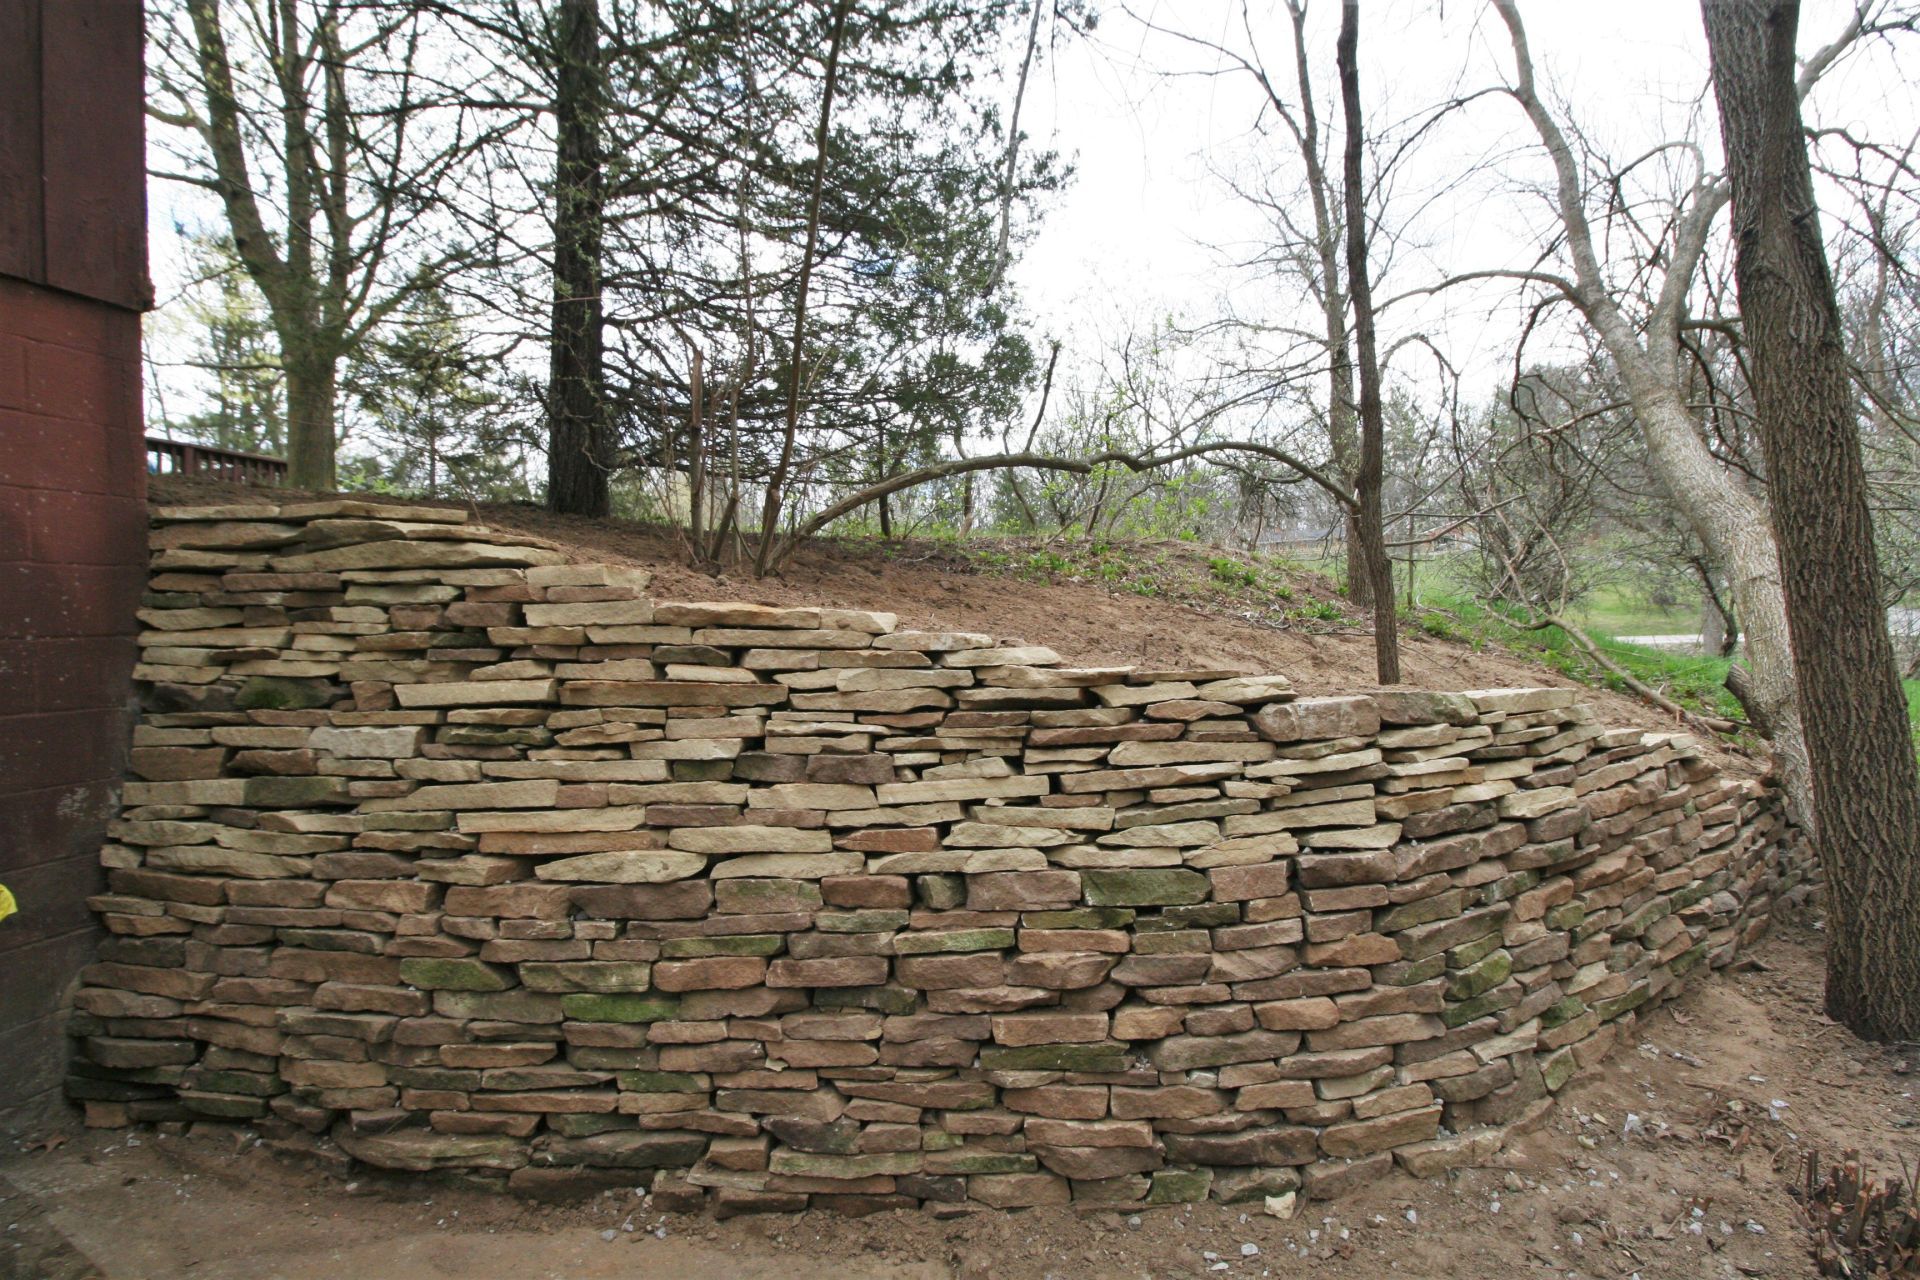
This rustic home in Chelsea, MI opted for function and style when they picked out this retaining wall.
Sandstone was the perfect choice because of its durability and warm look.
Sandstone is a naturally porous material and this makes it a very effective choice for a use in the construction of a retaining wall.
Sandstone is a great option because it can be shaped or left in a more natural form like we see for this project.
Dexter Block
13600 Luick Dr, Chelsea, MI 48118
Privacy Policy | Sitemap